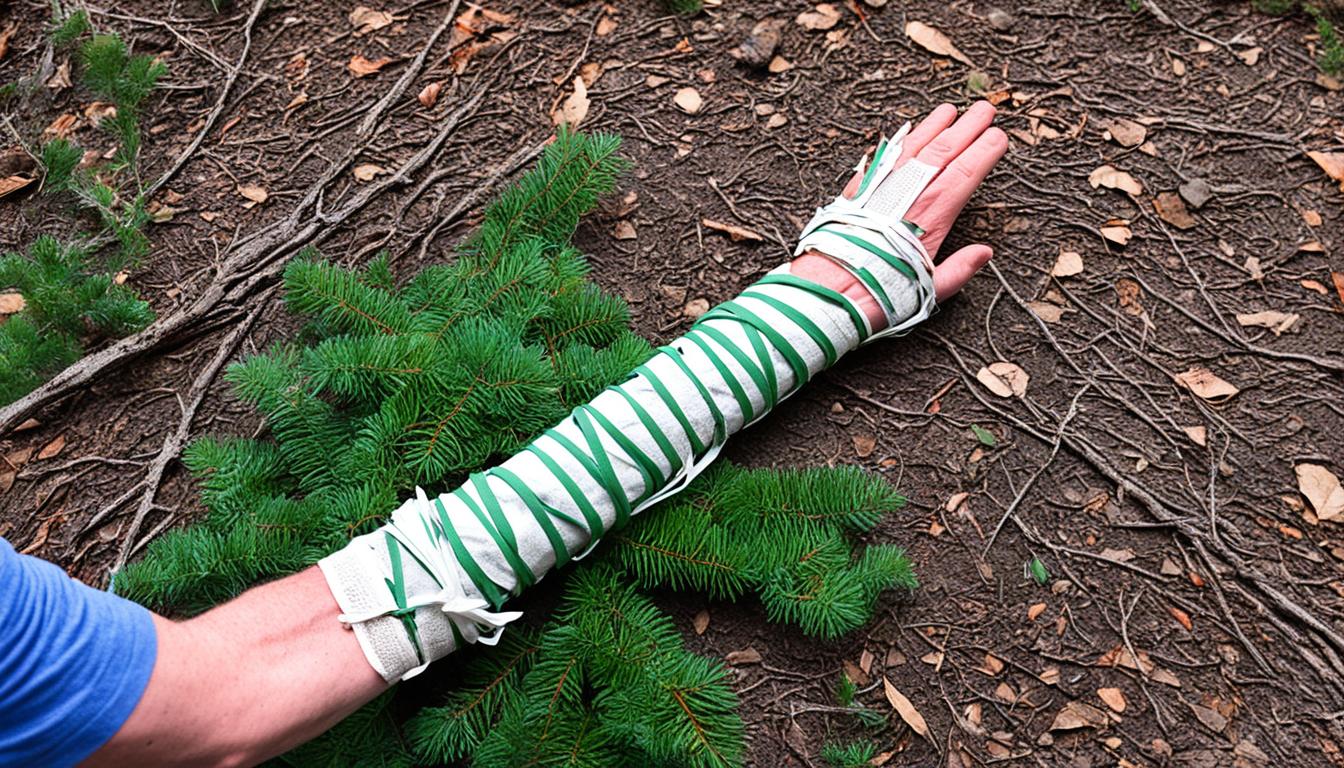
Did you know you can make a splint at home? It’s a simple way to protect injured body parts. Using items like newspapers or sticks, you can easily make a temporary splint.
Braces and splints help when you’re injured. They’re vital for providing support right away. They work well for injuries like a sprained ankle or a broken arm.
We’ll show you how to make braces and splints using stuff you have around. These home methods are not a replacement for medical help. But, they are good until you can get to a doctor.
Key Takeaways:
- Improvising braces and splints can provide temporary reinforcement in emergency situations.
- Making use of everyday items found at home, such as rolled-up newspapers or heavy sticks, can help craft effective makeshift braces and splints.
- It is important to seek medical attention for severe injuries or when encountering conditions such as bone protrusion, open wounds, or loss of pulse or sensation.
- Watch for signs of decreased blood circulation or shock after applying a homemade splint.
- Improvised bracing techniques can be used for various body parts, including hands, feet, arms, and legs.
DIY Orthopedic Accessories
When you have a serious physical injury, it’s best to see a doctor. But, you can make some DIY projects for temporary support. This involves using simple items and techniques for orthopedic needs at home.
Metatarsal Pad for Foot Pain
Feel foot pain and joint swelling? Make a metatarsal pad at home. You’ll need a sock support, adhesive felt, and a teardrop-shaped pad. Put the pad under the metatarsal heads for support. It eases weight off the front of the foot.
Ankle Brace for Stability
Narrowing down excessive ankle motion is crucial. Without a pro brace, you can fashion your own with two ACE bandages. Wrap one loosely at first. Then wrap the second one in a figure-eight shape for stabilizing the ankle. This home solution is for brief joint support.
Thumb Splint for Pain or Fractures
Thumb hurting or possibly fractured? A thumb splint can give comfort. Use perforated plastic, warm water shaping, and a paper guide. Shape the plastic around your thumb and use the guide to fasten it. This setup helps keep your thumb still for healing.
Custom Support with Leather Orthopedic Shoes
You can even make leather orthopedic shoes. This requires special materials and tools. Make molds and straps for your unique needs. A perfect fit means less discomfort and better relief.
DIY orthopedic tools offer a quick fix but remember, they’re not a replacement for medical advice. They’re meant for short-term use. So, get professional help for severe cases or immediate medical care.
R.I.C.E and Building a Splint
The R.I.C.E method (Rest, Ice, Compression, Elevation) is key for first aid when someone is hurt. Rest is the first priority to protect the area and reduce swelling. Then, the injured limb should be raised to lower blood flow and swelling. Icing the area also helps with swelling and pain, as does gentle pressure.
For an ankle injury, start by taking off shoes and socks. Then, wrap the ankle in a bandage. This keeps the ankle still and helps it heal right. This also stops you from making the injury worse.

It’s important to use a splint to keep the ankle from moving. Make sure to add soft padding first. This makes the splint comfortable and safe to use.
Secure the splint with straps once it’s padded. This holds everything together well. It allows the ankle to heal without further harm.
Trying to move by yourself when hurt is risky. Get help to make sure you move safely. This protects against more injury.
Safety Precautions and Seeking Medical Help
Making your own splints and braces at home can be helpful. But it’s crucial to be safe and know when to get real medical help. Homemade splints are not as good as what doctors provide. Here are some important rules and when you should get help from a doctor:
Safety Precautions
First, make sure the straps on your splint aren’t too tight. This can make it hard for blood to flow. If fingers or toes look pale or swollen, the splint might be too tight. Loosen it up.
Next, keep an eye out for problems that splints can cause. These can be simple discomfort or something worse like skin sores. If you see damage, feel joint stiffness, or see burns, act fast.
Finally, look for signs that you need a doctor. Symptoms like numbness, tingling, or worsening pain are not good. Also, look for skin problems, or tight splints. If these happen, it’s time to see a doctor.
Seeking Medical Help
If the person wearing the splint feels more pain, it might not be working right. Take it off and get medical help quick.
For serious injuries like a bone sticking out, you need a doctor right away. Also, in cases where there’s no pulse or feeling, or if fingers or toes look blue, get help now. This means calling an ambulance or going to the emergency room.
Use homemade splints only for a short time. They help until you can see a doctor. Putting the injured person first and getting them real medical help is most important.
| Type of Injury | Duration of Splint Wearing |
|---|---|
| Sprains, strains, tendinitis, ligament injuries | Several days to a few weeks |
| Broken bones, dislocated joints | Several weeks to months |
| Conditions like arthritis, carpal tunnel syndrome, nerve-related disorders | Varies depending on the individual and severity of the condition |
Knowing the right type of splint or brace is important. Studies help us understand which ones work best. But always talk to a doctor for advice that fits you.

Conclusion
In an urgent injury, making bracing or splints from things at home might help for a short time. You can fix braces and splints for many body parts by using what’s around you. This can keep the injury still and give first aid until you can see a doctor.
Remember, using makeshift tools isn’t the same as getting real medical help. They’re okay for just a little while. Always get real help if the injury is bad or if you need a doctor right away.
Doctors might use casts or tell you not to put weight on the injured part. They do this for about 6-8 weeks. Moving a bit while you heal can make your bones stronger. But, after big injuries, you might be shorter because of the way you healed. Fixing bent bones can also be hard. So, always listen to your doctor to get better right.
Homemade tools are not perfect, especially for big problems. Think about the person’s safety first. It’s much better to check with a doctor for the right care and advice. This way, they can figure out exactly what you need to heal well.