Did you know that every year, thousands of individuals find themselves in dangerous situations while exploring the wilderness? Whether it’s a hiking trip gone wrong or a camping mishap, being prepared for emergencies is essential. One of the most crucial aspects of wilderness survival is knowing how to signal for help in case of distress.
- Knowing and using effective wilderness rescue signals can save lives in emergency situations.
- The international distress signal is three of any signal, such as three shots, three blasts on a whistle, three flashes with a mirror, or three fires evenly spaced.
- Creating an X in the snow, grass, or sand can make you more visible to potential rescuers.
- Personal locator beacons (PLBs) are highly effective in summoning help.
- Being prepared and knowledgeable about rescue signals increases your chances of being found and rescued.
Takeaways>
Important Elements of Wilderness Emergency Care
In a wilderness emergency, caution and sound judgment are crucial. It is important to have at least one member of your group familiar with first aid practices. In the event of an emergency, do not panic and decide on the necessary steps to take.
Provide necessary first aid to the victim and regroup all members of your party. Choose a messenger party to go for help, ensuring at least two persons. Leave at least one person with the victim and provide the messenger party with a report of the injury and the exact location of the victim.
It is also important to have emergency telephone numbers readily available, such as the NH State Police and VT State Police.
| Wilderness Emergency Care | First Aid Practices | Regrouping | Messenger Party | Emergency Telephone Numbers |
|---|---|---|---|---|
| Familiarize at least one group member with wilderness emergency care | Administer necessary first aid to the victim | Regroup all members of the party | Choose a messenger party with two or more individuals | Have emergency telephone numbers available, such as NH State Police and VT State Police |
Winter Weather and Cold Safety Tips
Winter weather and cold conditions can pose additional dangers in the wilderness. It is important to always be prepared and ready to turn back if conditions are unfavorable. Dress appropriately and bring enough warm clothing and survival items.
Staying hydrated is crucial in cold weather. Make sure to drink plenty of fluids, such as non-caffeinated teas and water. Avoid consuming coffee, alcohol, and hot chocolate, as they can dehydrate you.
Cold-related injuries like frostbite are a serious concern in winter weather. Take necessary precautions to protect your skin from the cold:
- Wear proper clothing, including layers and insulated footwear.
- Use hand warmers and wear gloves or mittens.
- Protect your head and face with a hat and scarf.
- Apply a moisturizer to prevent dry skin.
It is essential to be aware of the signs and symptoms of hypothermia and frostbite. Look out for shivering, confusion, loss of coordination, and pale or waxy skin. If you or anyone in your group experiences these symptoms, seek shelter immediately and take appropriate measures to warm up.

| Cold Safety Tips | Precautions |
|---|---|
| Dress in layers | Wear clothing that can be easily added or removed to regulate body temperature. |
| Insulate your body | Use proper footwear, gloves, and headgear to prevent heat loss. |
| Stay hydrated | Drink non-caffeinated teas and water regularly to stay hydrated. |
| Protect your skin | Apply moisturizer and wear appropriate clothing to shield your skin from the cold. |
By following these winter weather and cold safety tips, you can minimize the risks associated with outdoor activities in colder climates. Stay prepared, stay safe, and enjoy the beauty of winter responsibly.
Ice Safety Measures
Assessing ice safety is crucial when venturing onto frozen bodies of water. Understanding ice thickness and its condition can help prevent accidents and ensure safety. Here are some important ice safety measures to consider:
- Use the right tools: To assess ice thickness, use an ice chisel or axe to chop a hole in the ice. This will help you determine whether the ice is thick enough and in good condition for travel.
- Know the minimum ice thickness: All ice should be considered potentially dangerous. There should be a minimum of six inches of hard ice before attempting foot travel on frozen bodies of water. For snow machine or ATV travel, the ice should be at least eight to ten inches thick.
- Be cautious of variable conditions: Areas with current and thin ice can be particularly hazardous. Varying weather conditions can weaken the ice, so it’s important to exercise caution in these areas.
- Stay off cracked or squishy ice: Avoid walking or traveling on cracked or squishy ice as it indicates weak spots or areas with water beneath the surface.
- Avoid ice during thaws: Thawing conditions can significantly weaken the ice. It’s crucial to avoid venturing onto the ice during thaws to minimize the risk of accidents.
- Watch for thin or honeycombed ice: Thin ice or ice with a honeycomb-like appearance should be avoided as it indicates weak spots. These areas are more prone to breaking and can be a significant hazard.
- Avoid large groups on the ice: Large groups can put additional stress on the ice, increasing the risk of accidents. It’s best to spread out and avoid congregating in one area when on the ice.
By following these ice safety measures, you can reduce the risk of accidents and ensure your safety on frozen bodies of water.

Ice Safety Guidelines
| Activity | Minimum Ice Thickness |
|---|---|
| Foot Travel | At least 6 inches of hard ice |
| Snow Machine or ATV Travel | 8 to 10 inches of hard ice |
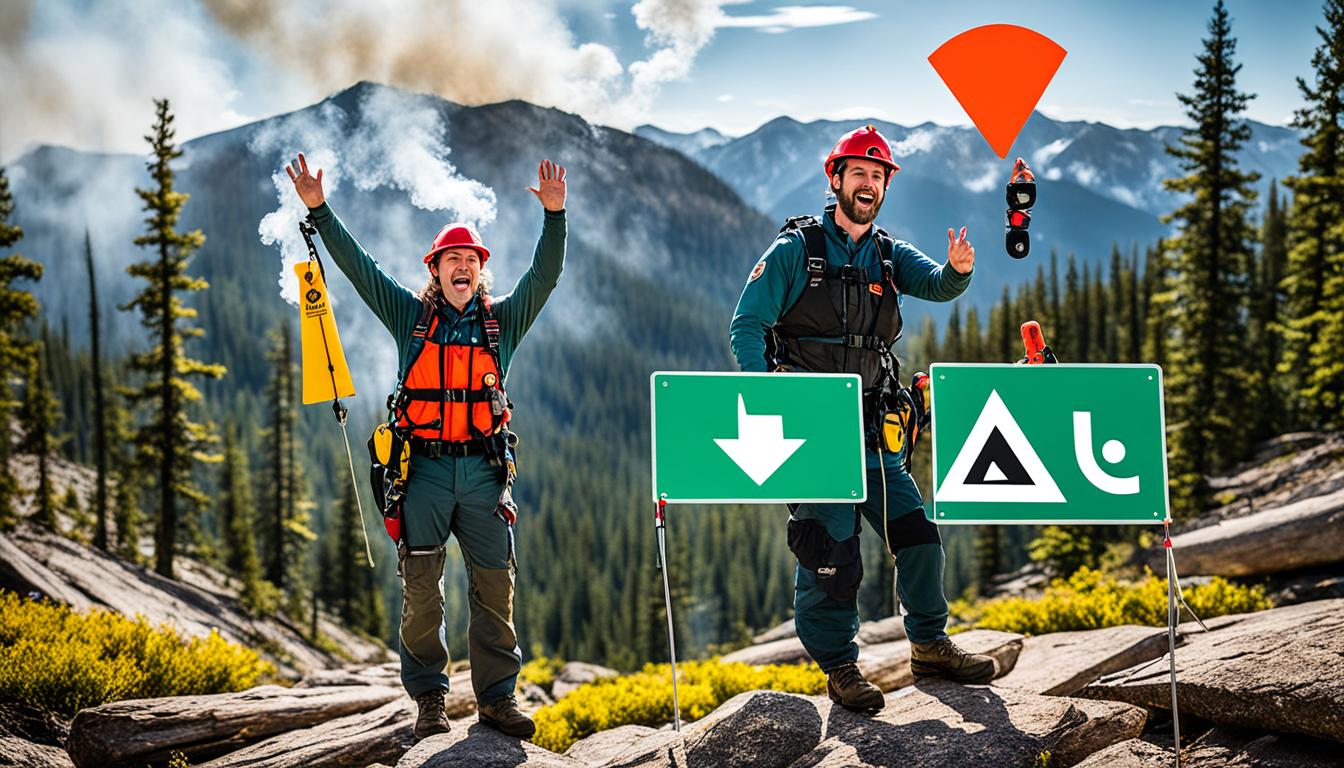
Visual Signaling Techniques
When it comes to attracting attention for rescue in a wilderness emergency, visual signaling techniques can prove to be highly effective. Let’s explore some of these techniques:
Smoke Signals
One of the oldest and most widely known visual signaling methods is smoke signals. By creating columns of smoke, you can alert potential rescuers to your presence. For white smoke, add green vegetation to your fire; for black smoke, use plastic or rubber materials. It’s crucial to choose a location where the smoke will be clearly visible and easily distinguishable from the surroundings.
Signal Mirrors
Signal mirrors are a compact and efficient tool for visual signaling. By reflecting sunlight towards a specific target, such as a passing aircraft or rescue team, you can flash a bright signal that is visible from a distance. To use a signal mirror effectively, hold it close to your face and aim the reflected light towards the intended recipient.
Ground Signals
Creating ground signals is another effective way to attract attention from the air. By arranging large and visible markings on the ground, such as rocks or branches, you can create a contrast with the surrounding landscape. These ground signals are especially useful for aerial rescuers who can spot them from above.
Flags
Flags attached to long poles can be waved to catch the attention of potential rescuers. Choose bright colors or patterns that contrast with the natural environment to enhance visibility. Wave the flag vigorously to make your presence known and increase the chances of being noticed.
Flares
If available, flares can provide a highly visible and attention-grabbing signal. These handheld devices produce bright, intense light and smoke, making them ideal for signaling distress. Follow the manufacturer’s instructions carefully and aim the flare towards the sky to maximize its visibility.
Using a combination of these visual signaling techniques can significantly increase your chances of being spotted and rescued in a wilderness emergency.

| Visual Signaling Technique | Description |
|---|---|
| Smoke Signals | Create columns of smoke using green vegetation for white smoke or plastic/rubber for black smoke. |
| Signal Mirrors | Reflect sunlight towards a target to flash a bright signal. |
| Ground Signals | Create large and visible markings on the ground to attract attention from the air. |
| Flags | Attach flags to long poles and wave them to catch the attention of rescuers. |
| Flares | Use handheld flares to produce intense light and smoke for high visibility. |
Audible Signaling Methods
Audible signals can be a lifesaver in emergency situations, providing a way to attract the attention of rescue personnel. When in need of immediate assistance, utilizing audible signaling techniques can greatly enhance your chances of being located and rescued. In this section, we will explore some effective audible signaling methods that can help you get noticed in a wilderness emergency.
Rescue Whistle
One of the most reliable and versatile audible signaling devices is a rescue whistle. Unlike yelling, which can quickly wear out your voice and become ineffective in windy or terrain-dispersed areas, a whistle can carry sound over long distances consistently. It provides a clear, sharp, and attention-grabbing sound that can be heard by rescue teams even in challenging conditions.
Car Horn
If you find yourself near a vehicle during an emergency, using the car horn can be an effective way to generate loud noises that can be heard over long distances. The car horn produces a distinct sound that can carry far and grab the attention of potential rescuers. Be sure to use short, consecutive honks to create a recognizable pattern that stands out from other ambient noises.
Banging on the Hood
Similarly, if you are trapped inside a vehicle, banging on the hood is another audible signaling method that can help attract attention. Rhythmic and deliberate banging on the hood can create loud noises that can be heard from a distance, increasing the chances of alerting rescue personnel to your presence.
“Utilize audible signaling techniques, such as a rescue whistle or car horn, to increase your chances of attracting the attention of rescue personnel in a wilderness emergency.”
In summary, audible signaling methods can play a vital role in getting noticed and rescued in a wilderness emergency. Having a reliable rescue whistle on hand can ensure consistent and effective communication, while utilizing a car horn or banging on the hood can provide attention-grabbing noises in specific situations. Remember, effective audible signaling can be the key to survival when every second counts.
https://www.youtube.com/watch?v=DZA-AEzptfY
High Tech Signaling Options
In a wilderness emergency, utilizing high tech signaling devices can provide additional means of getting help. These devices are designed to enhance your chances of being located and rescued promptly. Some of the high tech signaling options include:
LED Flashlight
LED flashlights with strobe settings are highly effective for signaling during a wilderness emergency. The strobe function produces a bright and rapid light pattern, making it easier for rescue personnel to spot your location, especially at night or in low visibility conditions.
Lasers
Lasers are another high tech signaling option that can be extremely useful for attracting attention in the dark. They are capable of projecting a powerful beam of light over long distances, making them ideal for signaling to potential rescuers or search aircraft at night. However, it’s important to use lasers responsibly and avoid pointing them directly at people or aircraft.
Satellite Phone
A satellite phone is a communication device that provides a reliable means of contacting emergency services in remote areas where cellular coverage is unavailable. These phones use satellites to establish a connection and can be used to directly call for help or relay vital information about your situation and location.
Personal Location Beacon (PLB)
A Personal Location Beacon (PLB) is a compact device that can emit a distress signal with precise location data when activated. PLBs are registered to an individual and can be carried on your person or attached to your gear. Once activated, they transmit a signal to search and rescue authorities, enabling them to quickly locate and assist you.
These high tech signaling options can greatly enhance your chances of being located and rescued in a wilderness emergency. By investing in these devices and knowing how to use them effectively, you can significantly improve your safety and survival outcomes.
Conclusion
In a survival situation, the ability to communicate effectively through signaling techniques can mean the difference between life and death. Whether you find yourself lost in the wilderness or facing an emergency situation, knowing how to signal for help is crucial. By practicing and familiarizing yourself with various signaling methods, you can increase your chances of survival and expedite your rescue.
Rescue teams play a vital role in locating and bringing individuals to safety. Their expertise and resources are invaluable in emergency situations. When you signal for help, you rely on the dedication and commitment of these rescue teams to come to your aid. Without their assistance, your chances of survival would be significantly diminished.
It is essential to prepare yourself with the necessary tools and knowledge for effective signaling. Practice using different techniques such as visual signals, audible signals, and high-tech signaling devices. Familiarize yourself with the appropriate methods for the environment you are in, as well as any specific regulations or protocols that may apply.
Remember, it is crucial never to wait until your life is on the line to learn and utilize these techniques. Be proactive and proactive in practicing and honing your signaling skills. By being prepared and proficient in signaling, you can increase your chances of survival and ensure your safe return home.